Grievance
The Grievance module enables you to review, manage, and resolve grievances submitted by candidates. You can view/review grievance details, monitor status updates, Update comments for internal record tracking, approve valid requests, deny requests, or request additional information before making a final decision.
View / Review Grievance Form
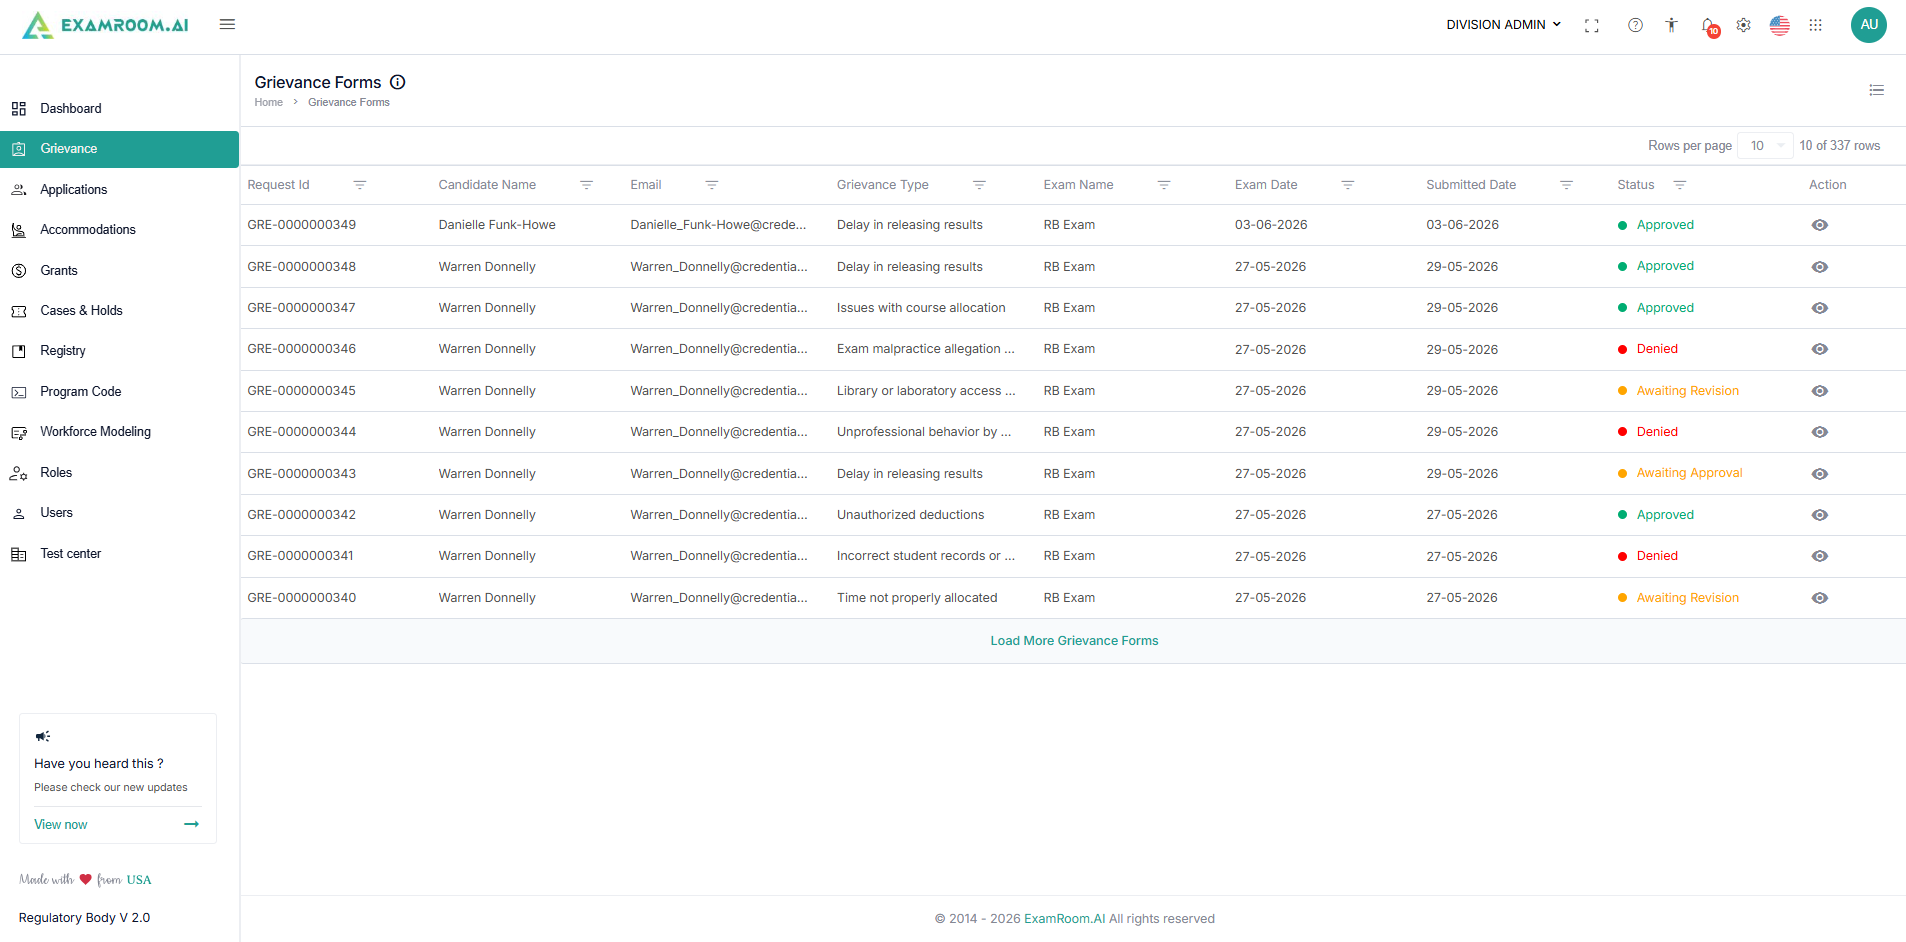
The Grievance Forms page displays all submitted grievances and their current processing status.
- Click Grievance from the left navigation menu.
- The Grievance Forms page opens and displays all submitted grievance requests.
- The grievance list includes:
- Request ID: Unique grievance reference number.
- Candidate Name: Name of the candidate who submitted the grievance.
- Email: Candidate email address.
- Grievance Type: Category of the submitted grievance.
- Exam Name: Examination associated with the grievance.
- Exam Date: Scheduled examination date.
- Submitted Date: Date the grievance was submitted.
- Status: Current grievance status.
- Action: Click the View icon to view/review the grievance form and its details.
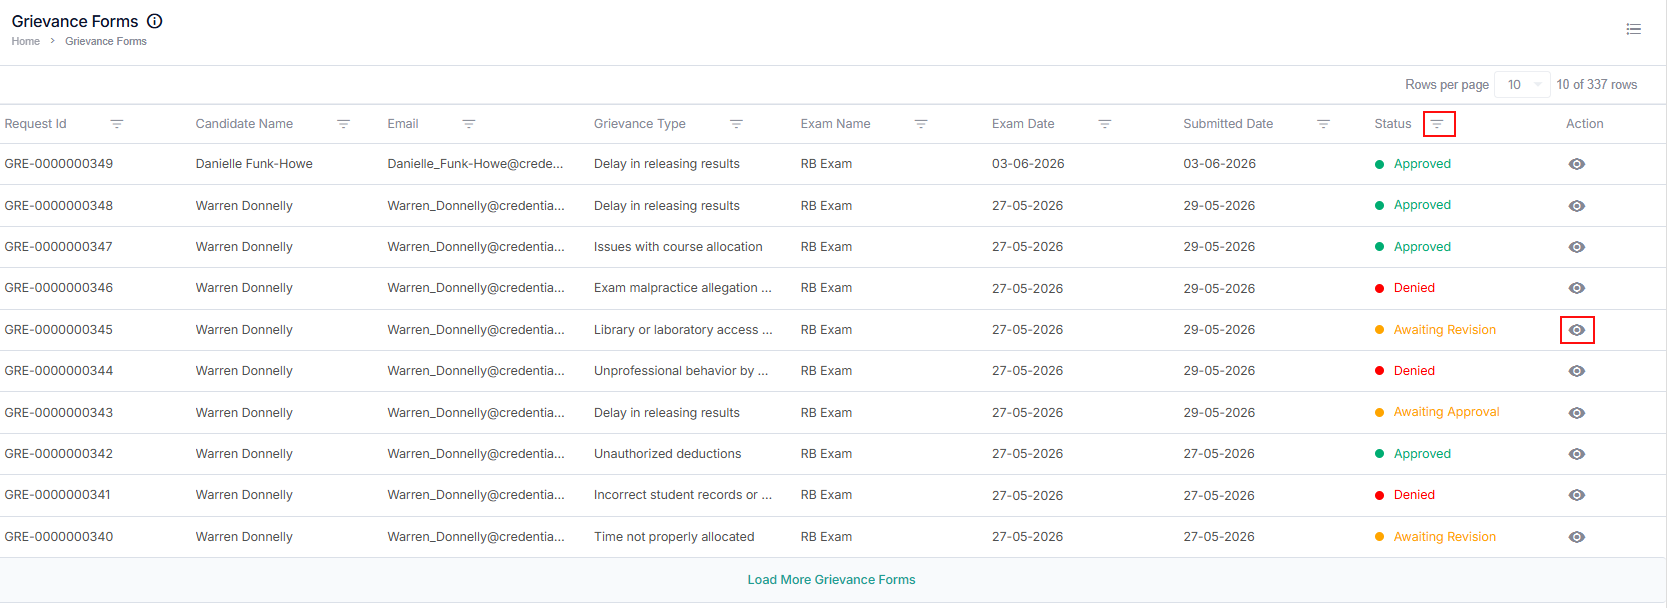
- To review the Grievance form with status awaiting approval:
- Select a grievance form with the status awaiting approval from the list. You can use the status filter to easily find all the forms awaiting approval from the list.
- Review all the details provided, the candidate's general information, and the grievance form.
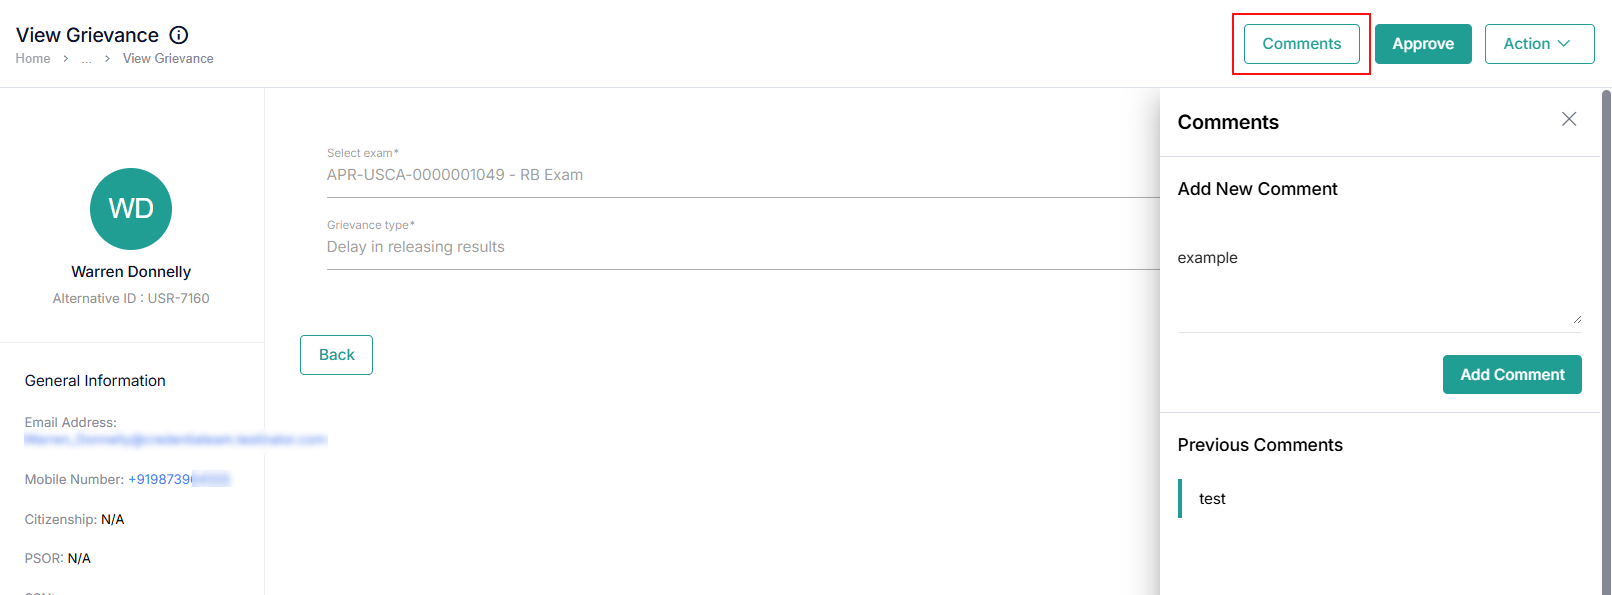
- Click the Comments button to add comments (for internal reference) or view previously added comments.
- Select a grievance form with the status awaiting approval from the list. You can use the status filter to easily find all the forms awaiting approval from the list.
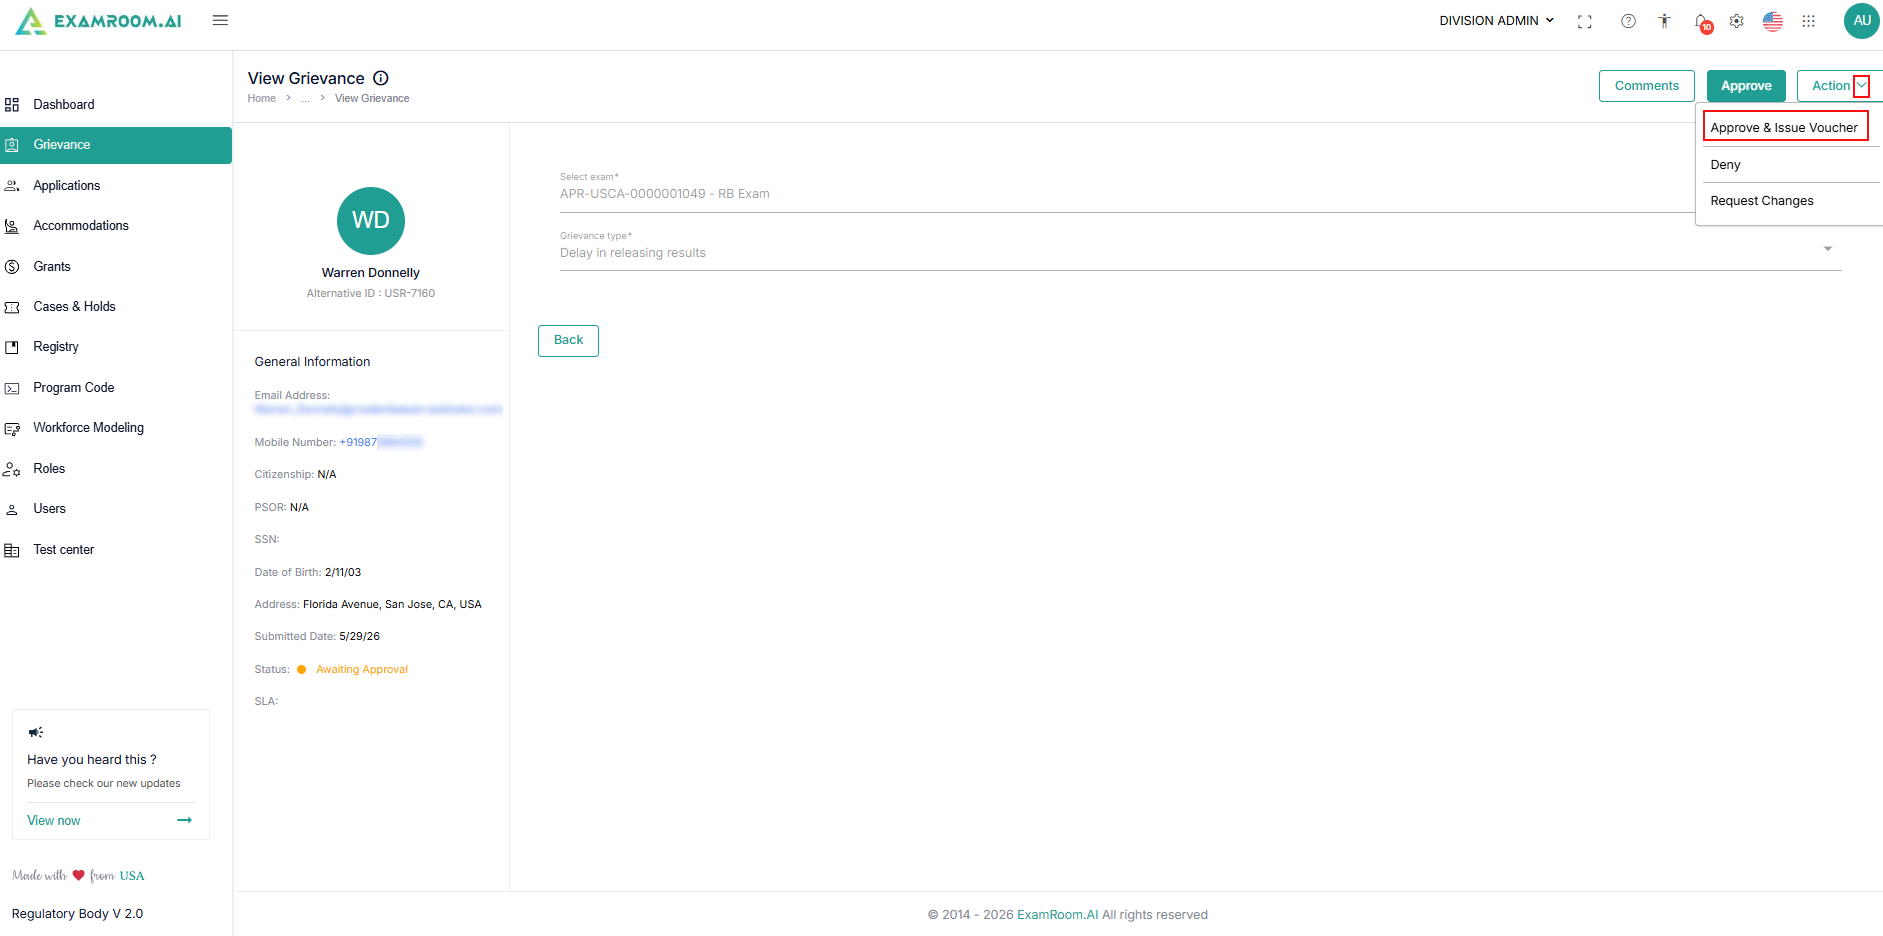
- Take action on the reviewed grievance form,
- Approve a Grievance: When a grievance is valid and meets review requirements, you can approve the request and issue a voucher to retake the exam. The candidate can use the voucher to reschedule the exam without paying again.
- On the selected view grievance page, click the Action dropdown button and select Approve & Issue Voucher.
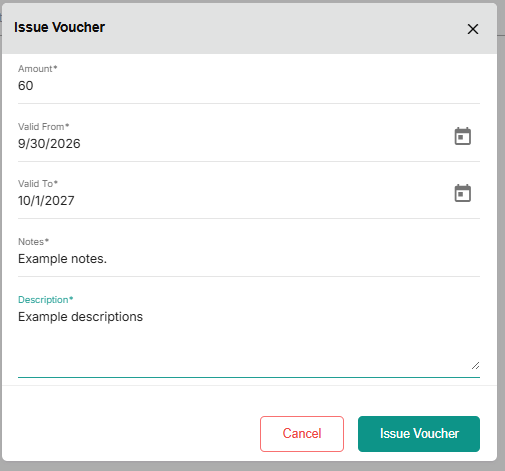
- An issue voucher pop-up will appear:
- Enter the amount (enter the exam fee for rescheduling).
- Set the validity period, Valid From, and Valid To in the respective fields. Click the Calendar icon to select a date.
- Enter the Notes and Description, and click the Issue Voucher button.
- On the selected view grievance page, click the Action dropdown button and select Approve & Issue Voucher.
- Request Change: Returns the grievance for additional clarification or supporting information.
- On the selected view grievance page, click the Action dropdown button and select Request Changes.
- A comments section will appear to request details from the candidate, and you use the Add New option to add multiple comments if you have multiple requests. These comments will be sent to the candidate, who will be asked to resubmit the grievance form with the requested details.
- On the selected view grievance page, click the Action dropdown button and select Request Changes.
- Deny a Grievance: Rejects the grievance request.
- On the selected view grievance page, click the Action dropdown button and select Deny.
- On the selected view grievance page, click the Action dropdown button and select Deny.
- Approve a Grievance: When a grievance is valid and meets review requirements, you can approve the request and issue a voucher to retake the exam. The candidate can use the voucher to reschedule the exam without paying again.