Application configurations
The Application Configuration module allows administrators to define how applications are processed within a program. It links application forms, exams, licensing rules, ATT (Authorization to Test) settings, renewal policies, certificates, and temporary permits into a single application workflow.
Application configurations determine candidate eligibility requirements, exam requirements, license issuance criteria, and renewal processes for a specific program.
View Application Configurations
The Configuration List page displays all configured application workflows.
Follow the steps to view all the Application configurations:
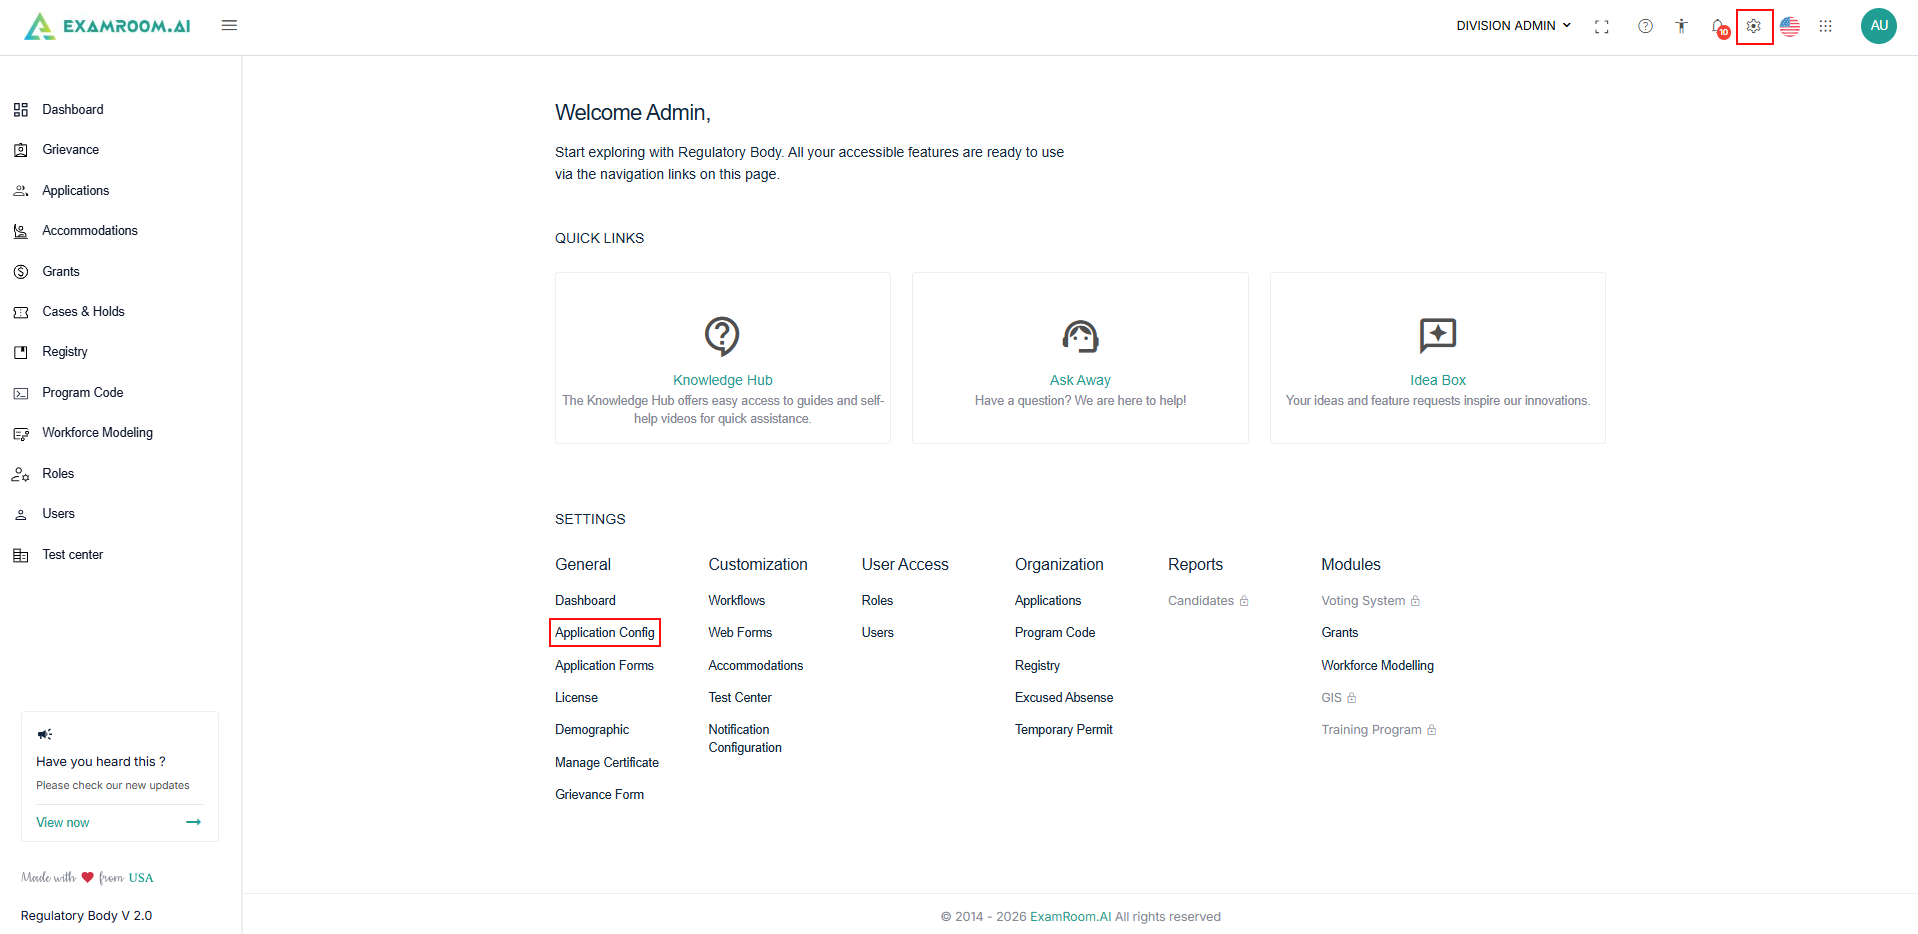
- Click the Settings icon from the top header and select Application Configuration.
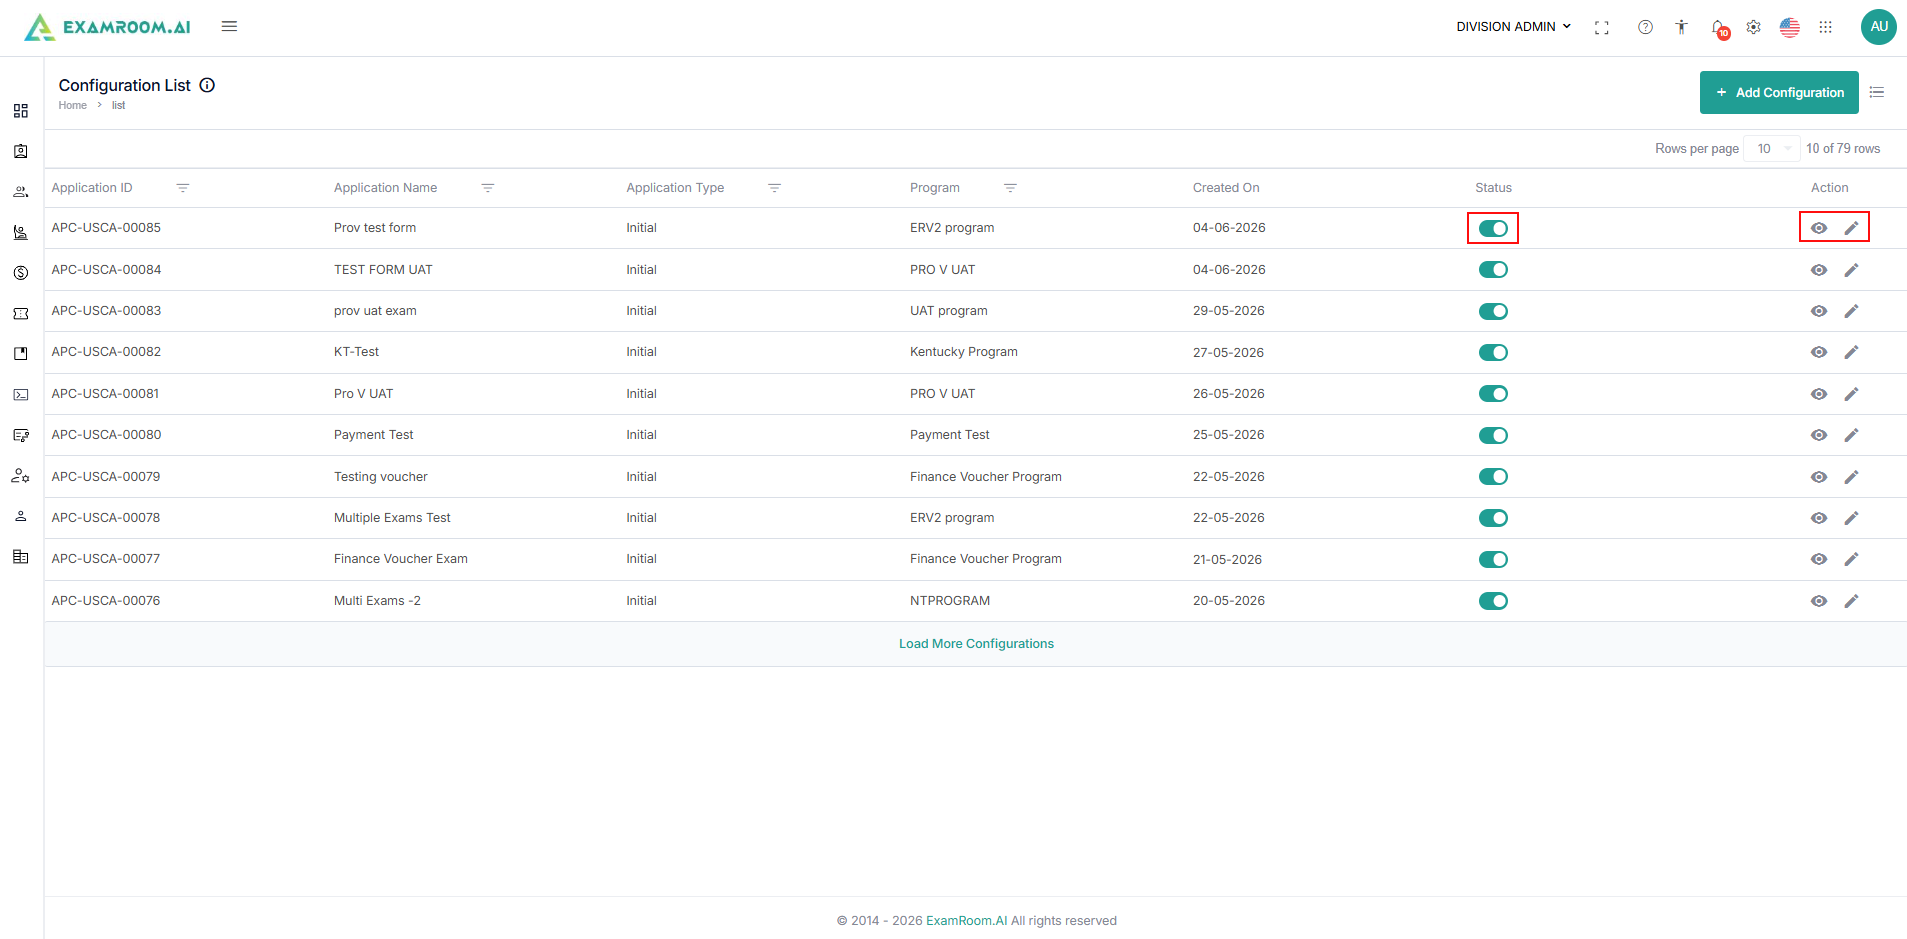
- On the Configuration List page, you can view all configured application workflows. The configuration list displays:
- Application ID: Unique configuration identifier.
- Application Name: Name of the application workflow.
- Application Type: Application category.
- Program: Associated program.
- Created On: Configuration creation date.
- Status: Active or inactive configuration status.
- Action: View or edit configuration details.
- Available options:
- Click the View icon to view the configuration.
- Click the Edit icon to change or update the existing configurations.
- Click the Status Toggle to enable or disable a configuration.
Add Configurations
Administrators can create a new application workflow by configuring application and licensing requirements. Follow the steps below to add a new configuration:
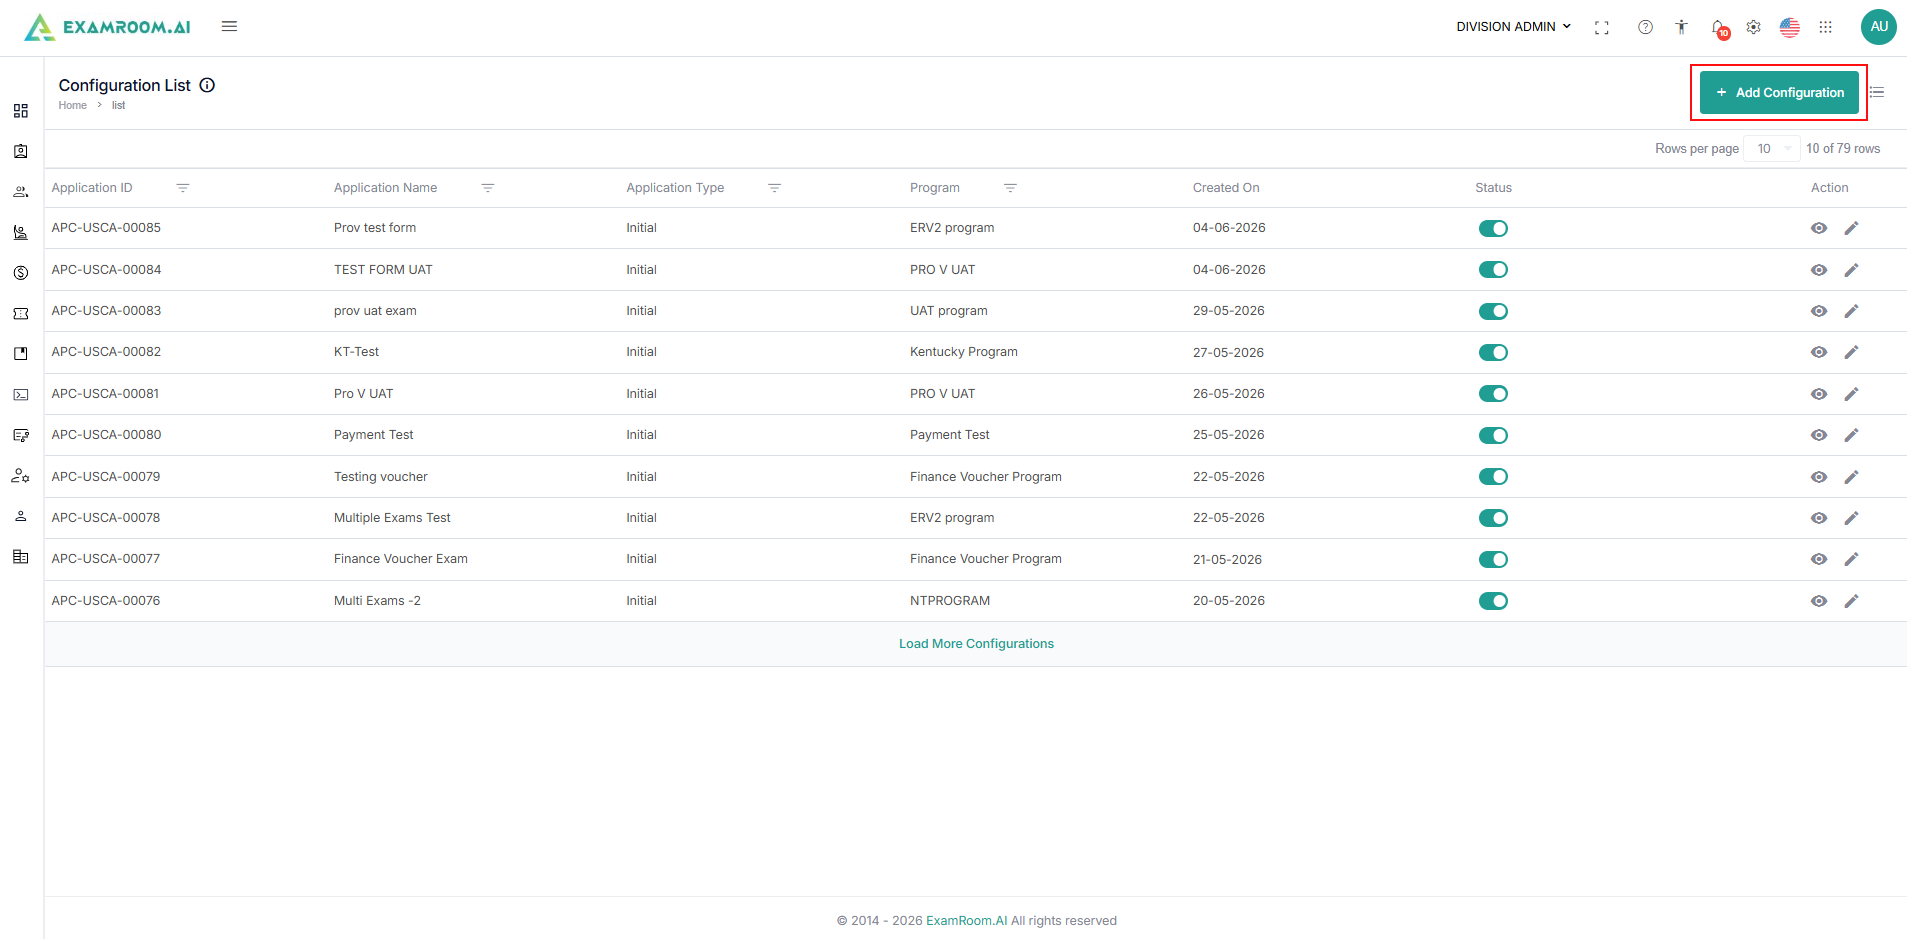
- On the Configuration List page, click + Add Configuration.
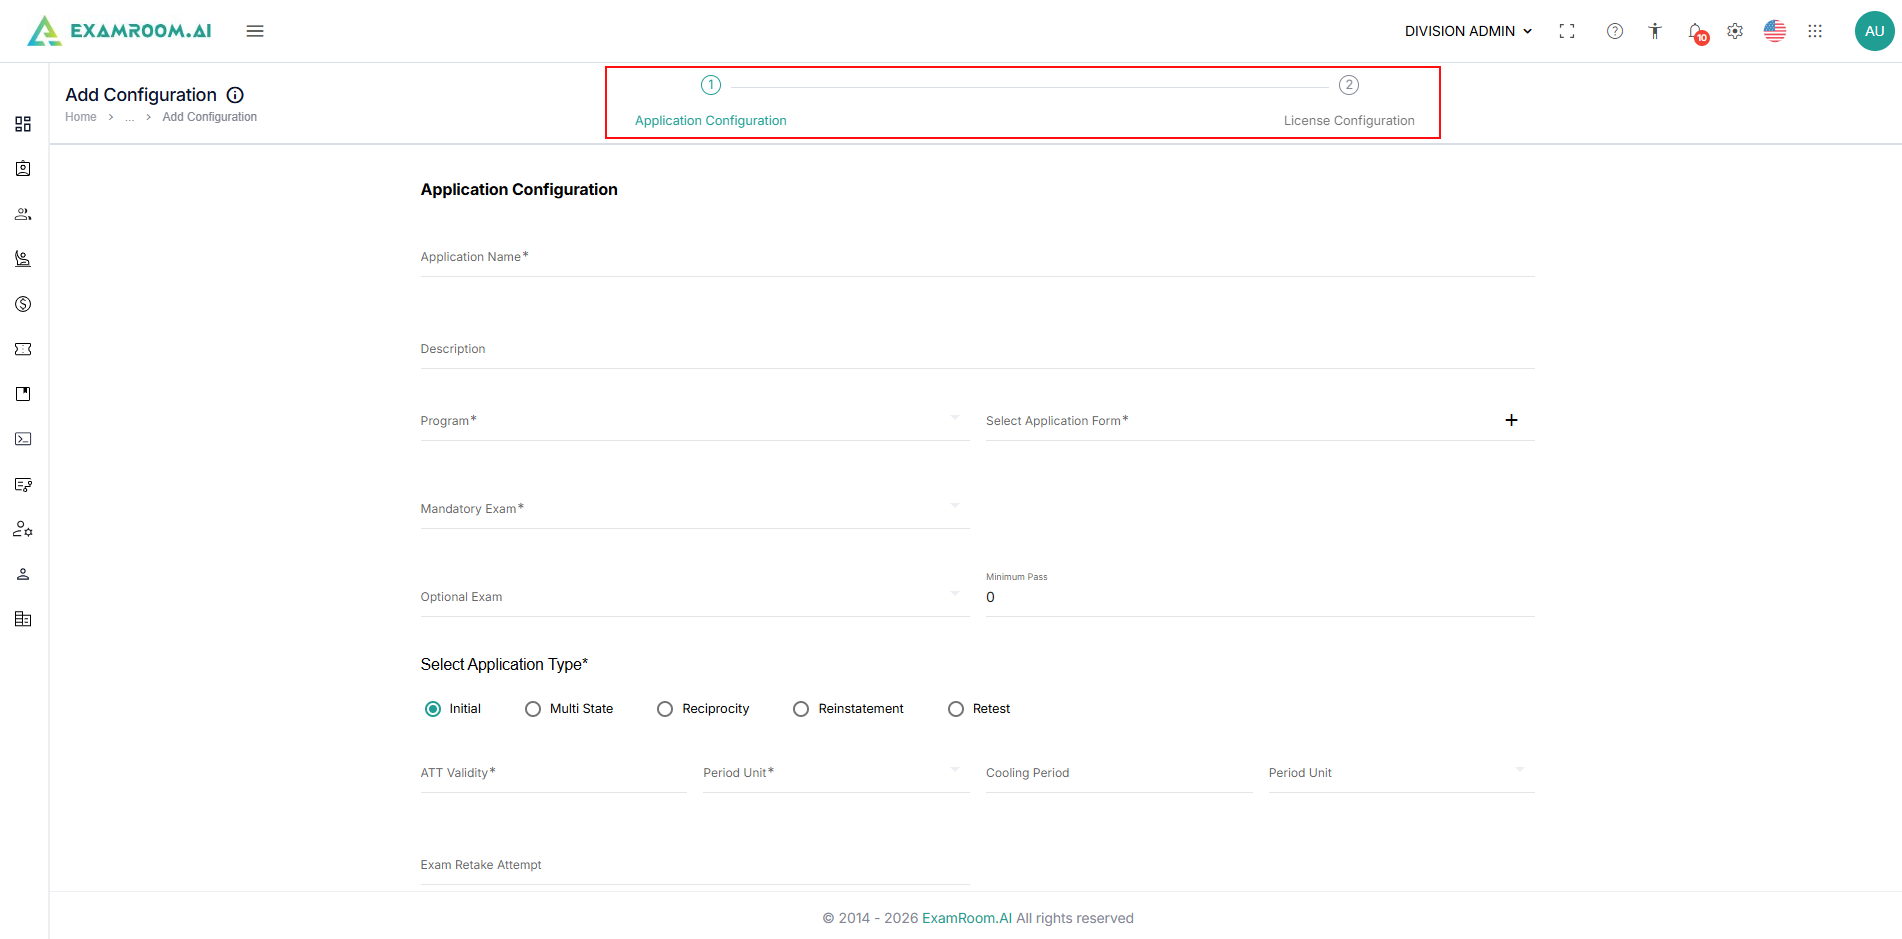
- The configuration process contains two steps:
- Application Configuration.
- License Configuration.
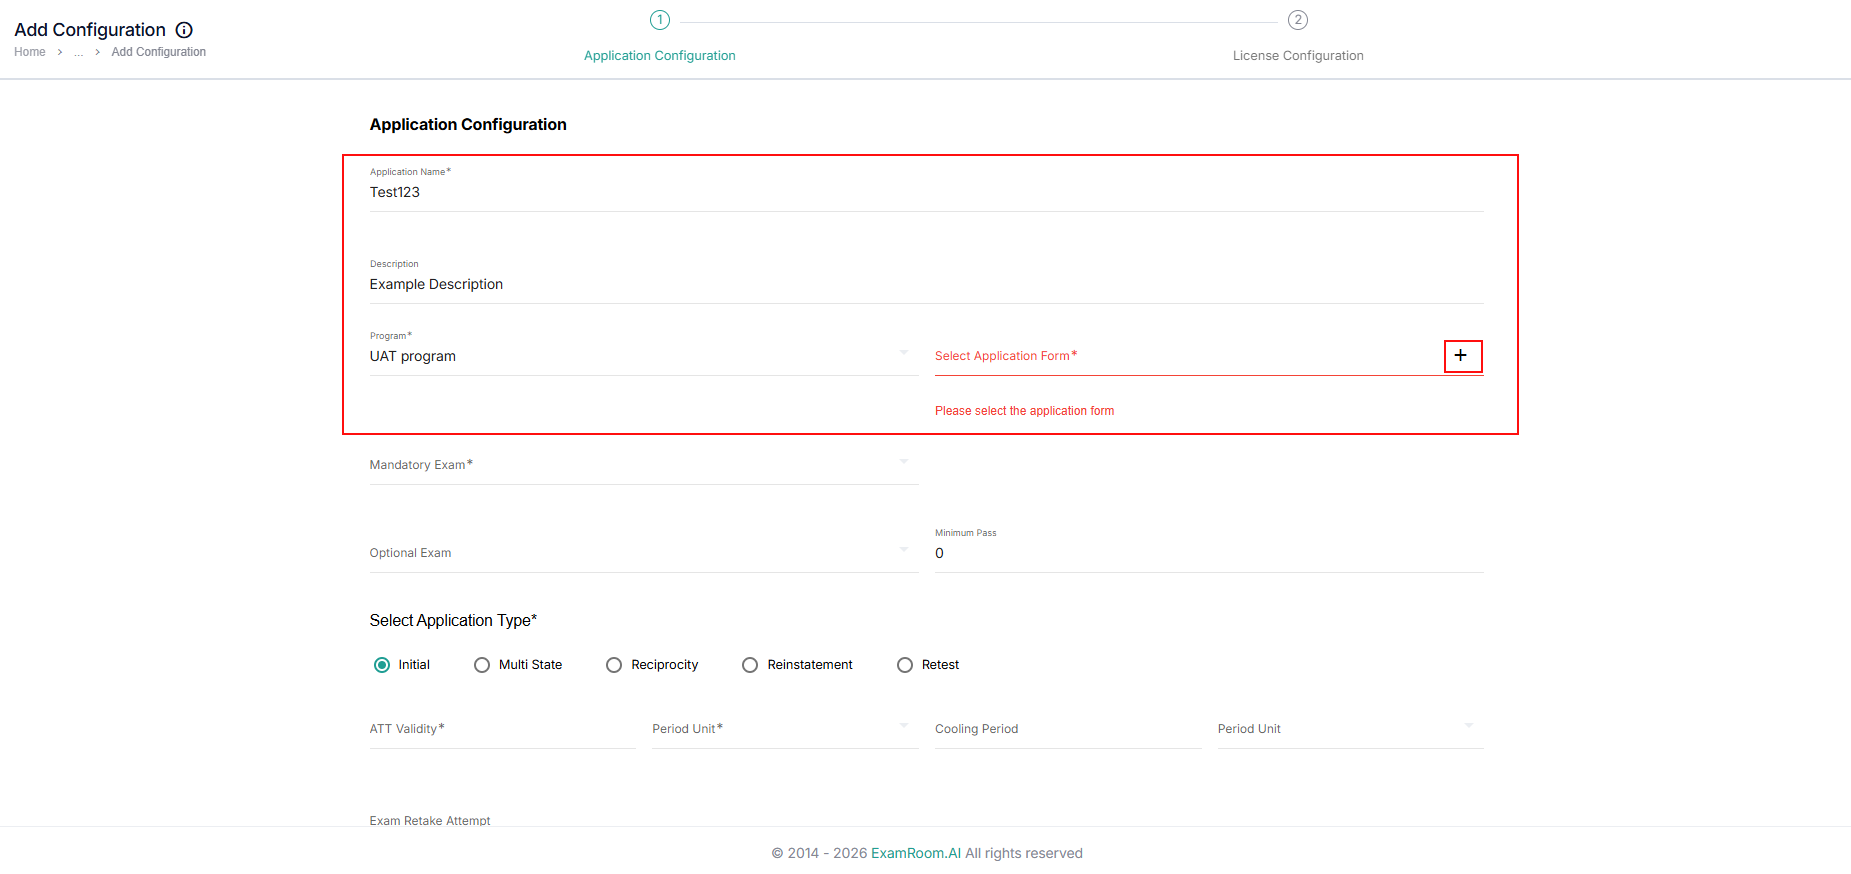
- Application Configuration: Configure the application workflow, associated forms, exam requirements, and ATT settings.
- Application Name: Enter a unique name for the application configuration.
- Description: Provide a brief description of the application process.
- Program: Select the program associated with the application.
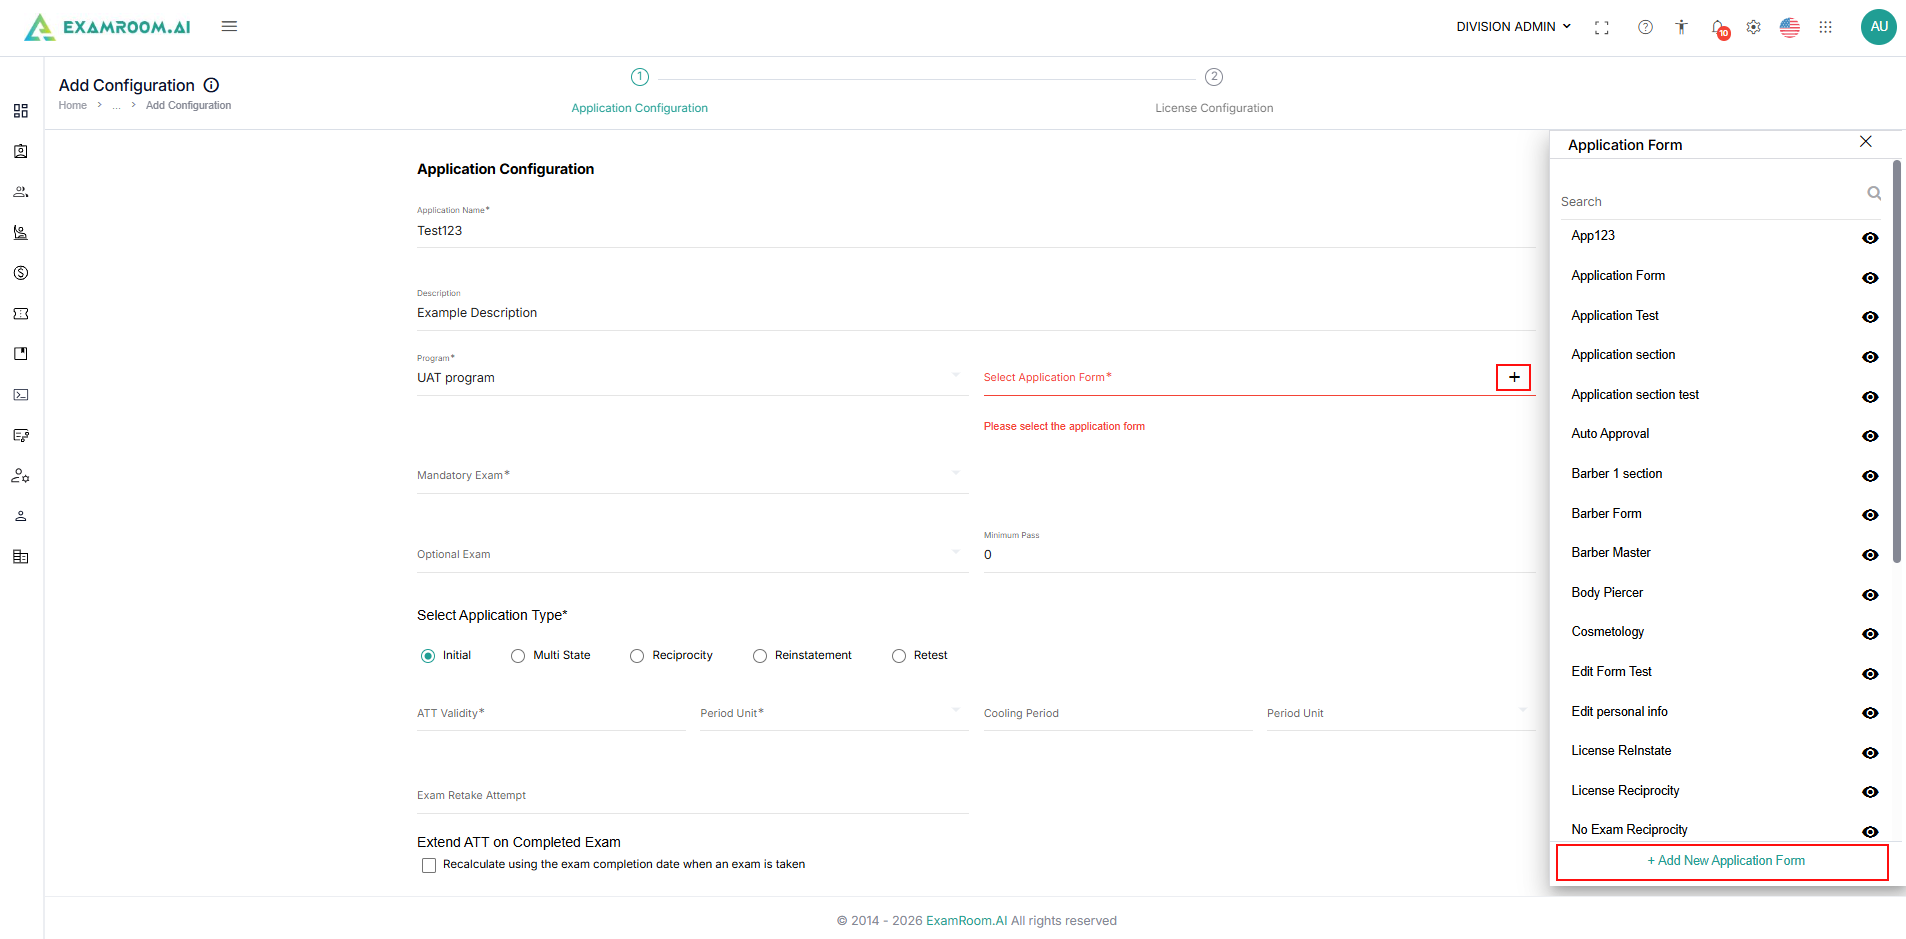
- Select Application Form: Select an application form from the list (newly created application forms are listed in this section) that candidates must complete.
- To create an application form, click "Add new application form." After creating it, you can proceed to complete the application configuration.
- To create an application form, click "Add new application form." After creating it, you can proceed to complete the application configuration.
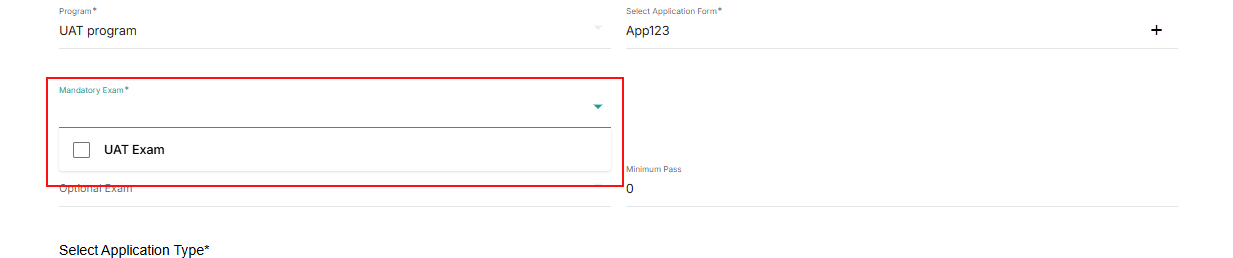
- Mandatory Exam: Select the examination candidates must successfully complete. The dropdown list of exams will appear based on the program you have selected.
- Optional Exam: Select additional exams that may be available to candidates.
- Minimum Pass: Define the minimum passing score required for successful completion.
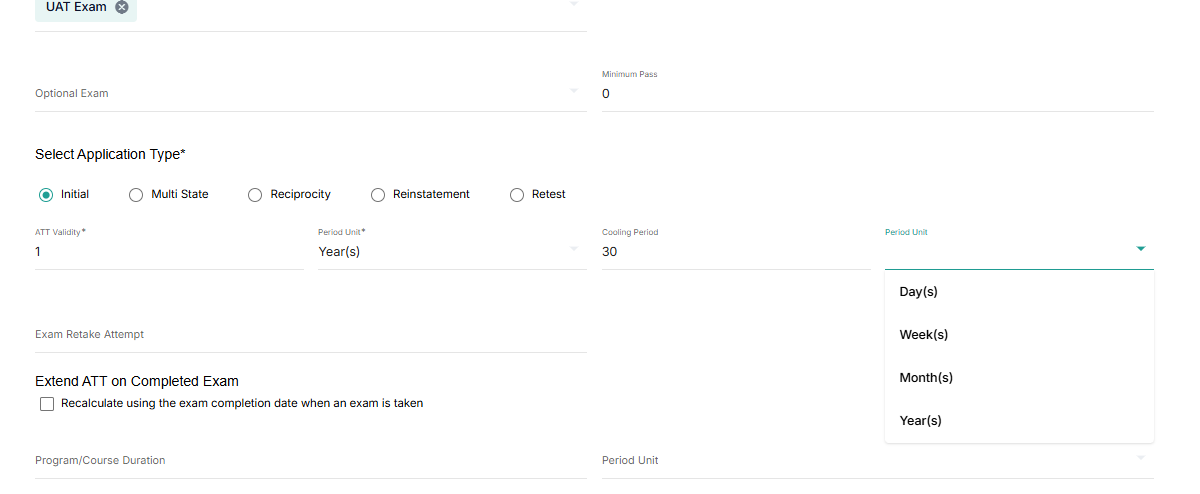
- Select Application Type:
- Initial: Used for first-time applicants.
- Multi-State: Used when applications support multiple jurisdictions or states.
- Reciprocity: Used when applicants transfer credentials from another jurisdiction.
- Reinstatement: Used when restoring an expired, suspended, or inactive credential.
- Retest: Used when candidates need to retake an examination.
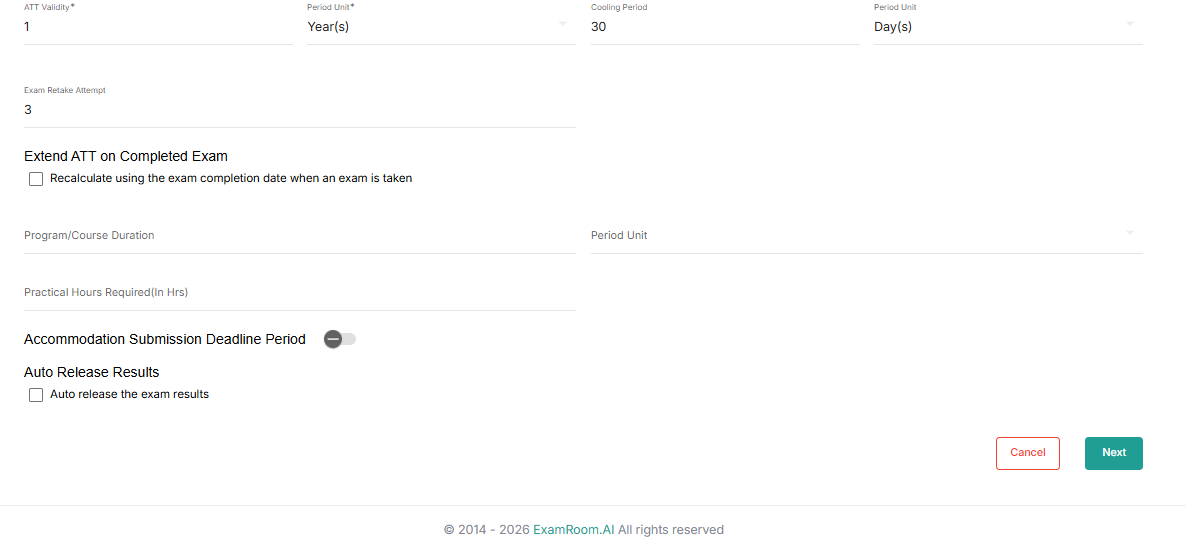
- ATT (Authorization to Test) Configuration: Configure the validity of the issued ATT and Colling period.
- ATT validity and period Unit: Enter the duration in number and in Period Unit select a validity measurement unit.
- Cooling Period and Period Unit: Enter the duration in number and in Period Unit, select the cooling measurement unit.
- Exam Retake Attempt: Enter the maximum number of attempts permitted to the candidate.
- Extend ATT on Completed Exam: check the box to enable this option to automatically recalculate ATT validity based on the candidate's exam completion date.
- Program/Course Duration: Specify the required program duration.
- Practical Hours Required: Enter the minimum practical training hours required for program completion.
- Accommodation Submission Deadline Period: Click to toggle and enable this option to set deadlines for submitting accommodation requests.
- Deadline Period and Period unit field will appear if enabled.
- Enter the duration in number and in Period Unit, select the measurement unit.
- Auto Release Results: check the box to enable automatic publication of examination results.
- Click the Next button to proceed to License Configuration.
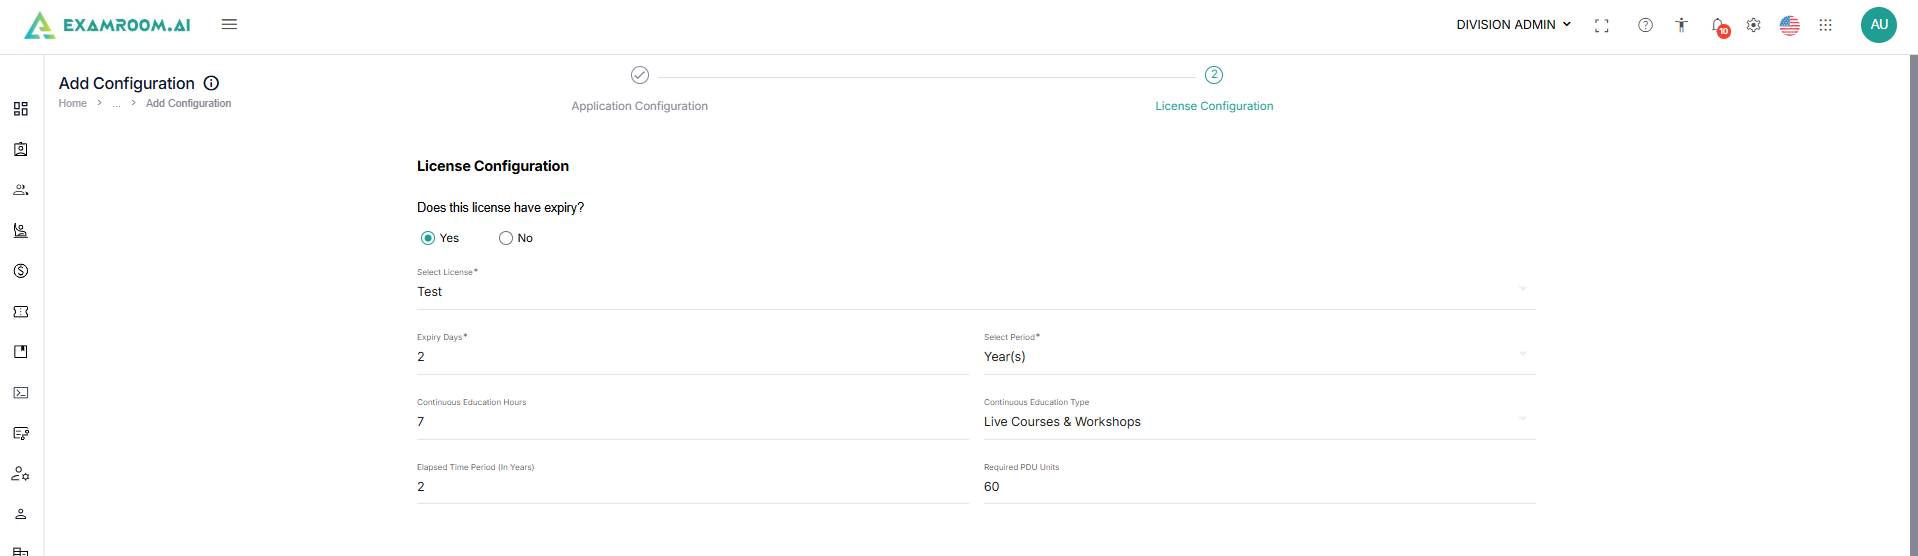
- License Configuration: Configure license issuance, expiration, renewal, certificates, and temporary permit settings.
- Answer the questions if the license needs to have an expiry, if yes select Yes or select No.
- Select the license: Choose the license associated with the application.
- Expiry Days: specify the number of days before license expiration.
- Select Period: Choose the expiration measurement period.
- Continuous Education Hours: Specify continuing education requirements.
- Continuous Education Type: Select the continuing education category.
- Elapsed Time Period (In Years): Specify elapsed experience requirements.
- Required PDU Units: Specify the required Professional Development Units (PDUs).
- Ensure all required fields under Renewal Configurations are filled if you select Yes for license renewal. If you select No, the Renewal Configurations will be disabled.
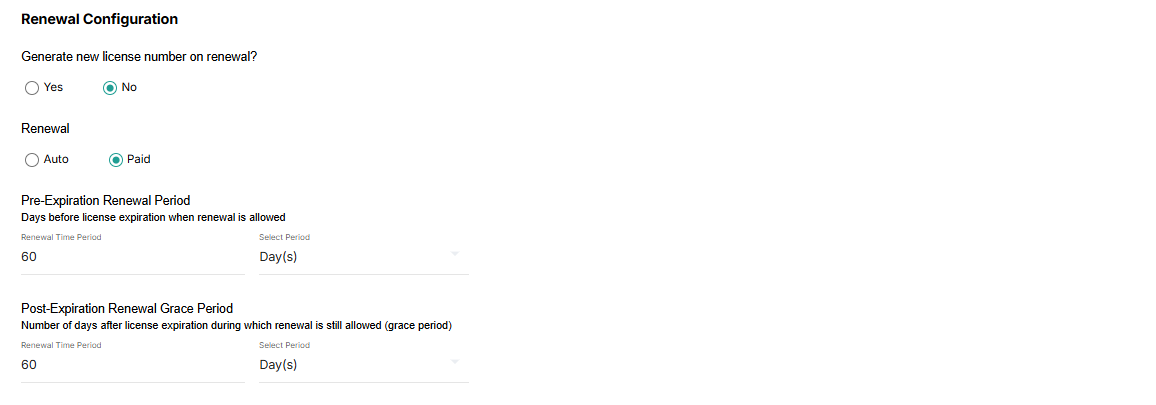
- Renewal Configuration: Configure how licenses are renewed.
- Generate New License Number on Renewal: Choose (Yes or No) whether to generate a new license number after renewal.
- Renewal Type: Select the renewal process, Auto or Paid.
- Pre-Expiration Renewal Period: Define how early candidates can renew before license expiration.
- Post-Expiration Renewal Grace Period: Define how long renewals remain available after expiration.
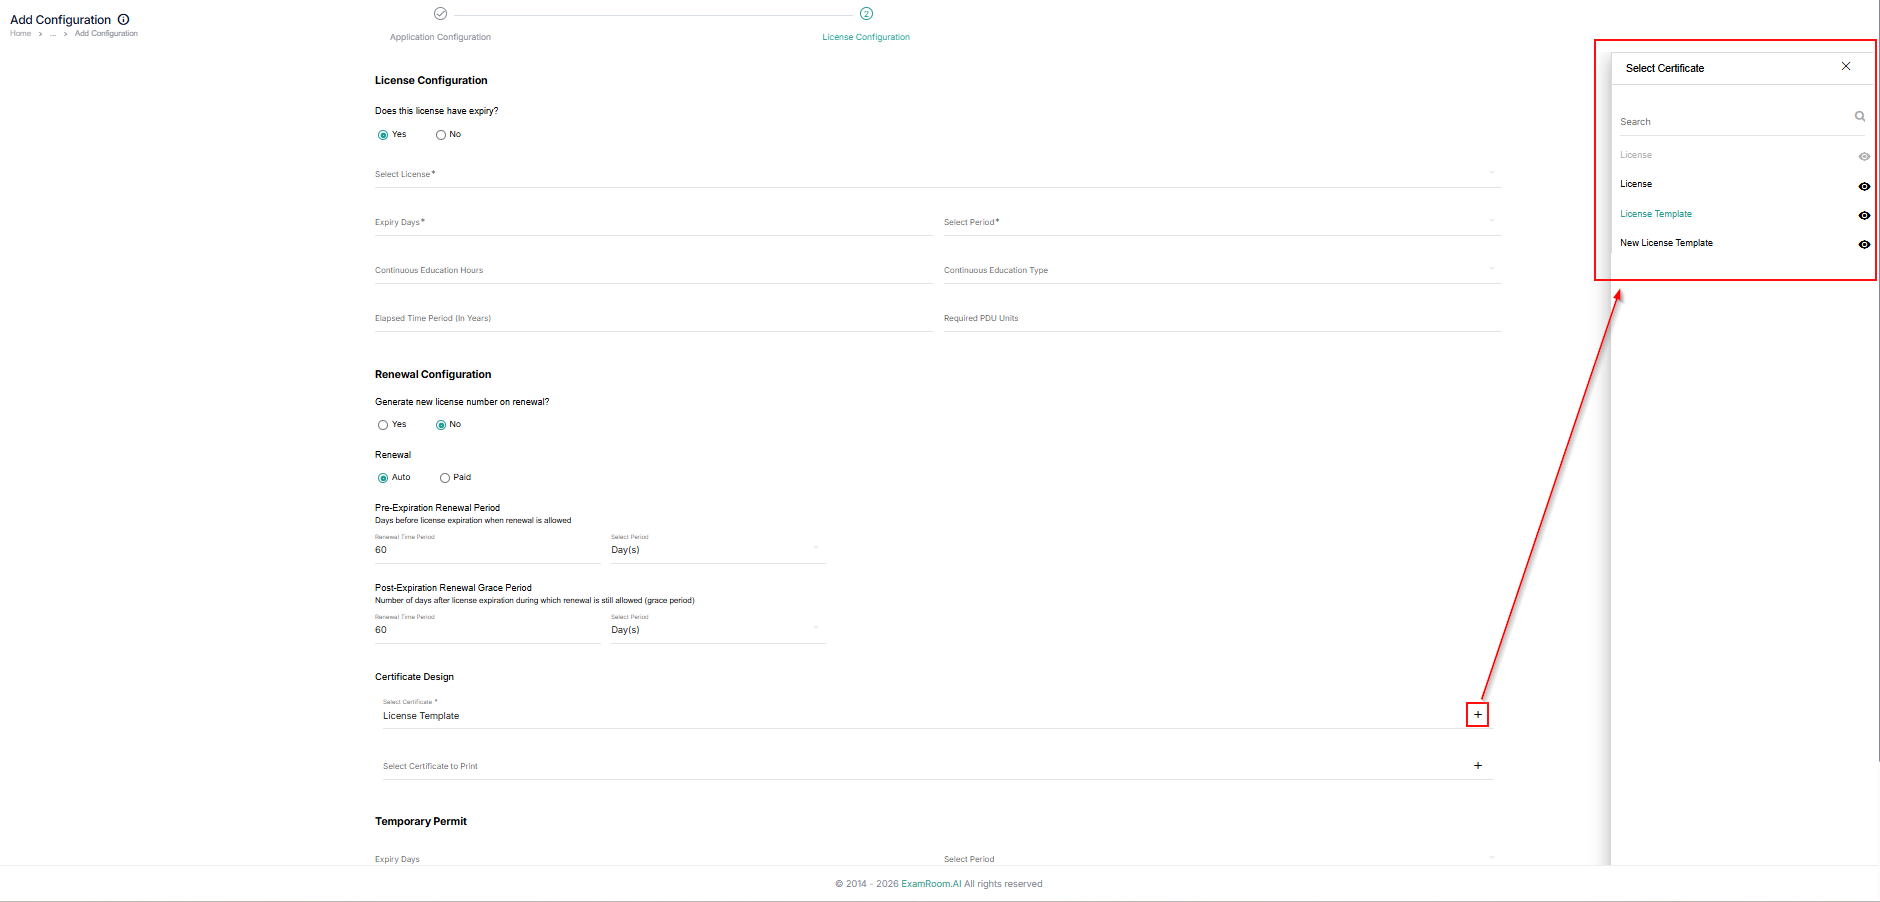
- Certificate Design: Select certificate design from the available template options.
- Click the Plus + icon, to view the available template options.
- Click the View icon beside each template name to preview the template.
- Click on the template title to select the preferred template.
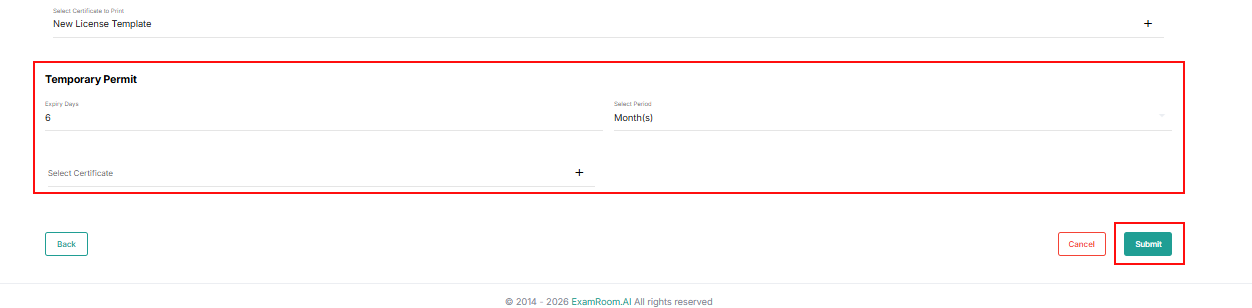
- Temporary Permit Configuration: Configure temporary permit issuance requirements.
- Click the Plus + icon, to view the available template options.
- Click the View icon beside each template name to preview the template.
- Click on the template title to select the preferred template.
Note: Fill in the Renewal configuration if applicable to your certification, or leave the fields blank and proceed.
- Fill in the Temporary Permit details, if applicable.
- Enter Expiry Days and select the period unit from the dropdown.
- Select a certificate from the available options:
- Click the Plus + icon to view the available template options.
- Click the View icon beside each template name to preview the template.
- Click on the template title to select the preferred template.
- Once you have filled in all the necessary details, click Submit / Update to save and add the configurations.
Note:
- The newly added application configuration will be inactive by default. You can activate it by clicking the toggle button located under the status column in the list.
- Find the newly added configuration in the configuration list.
- Click on the Toggle button to activate.
